Photography is an interesting art-form, it allows you to use your artistic eye for knowing what you’d like to capture and allows you to combine technical skills to manipulate the camera to help achieve the vision you have for your shot. If you’d rather keep it simple, you can, as most smartphones will have you only 1 or 2 taps from being able to point and shoot.
If you’re motivated to capture images that might be difficult, there are many ways you can do this, various types of cameras will give you the ability to capture a huge range of types of photos, from low light, to high shutter speed to deliberate motion blur.
Some types of photos are very hard, if not impossible to capture with the camera alone, no matter whether you’re using a cheap smartphone, or a DSLR costing several thousands of dollars.
Sometimes you need some equipment to help you capture the really challenging images. Sometimes though, that extra help can be actually quite simple.
Something that can broaden your creative options significantly is with the use of basic electronics. They can help you capture some of life’s most interesting images are over before our reflexes can even recognise they’ve happened.
Time for a photography project
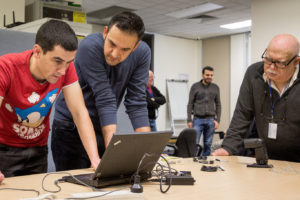
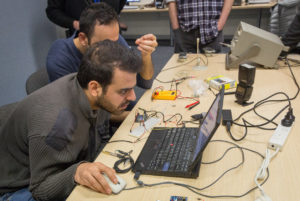
Recently, we caught up at the Melbourne Computer Club to use electronics to help us take more interesting photos.
What are some ways you’re able to speed up your reflexes to capture these images? Well you can outsource that part to some simple but high speed electronics devices that cost no more than a lunch at a suburban cafe.
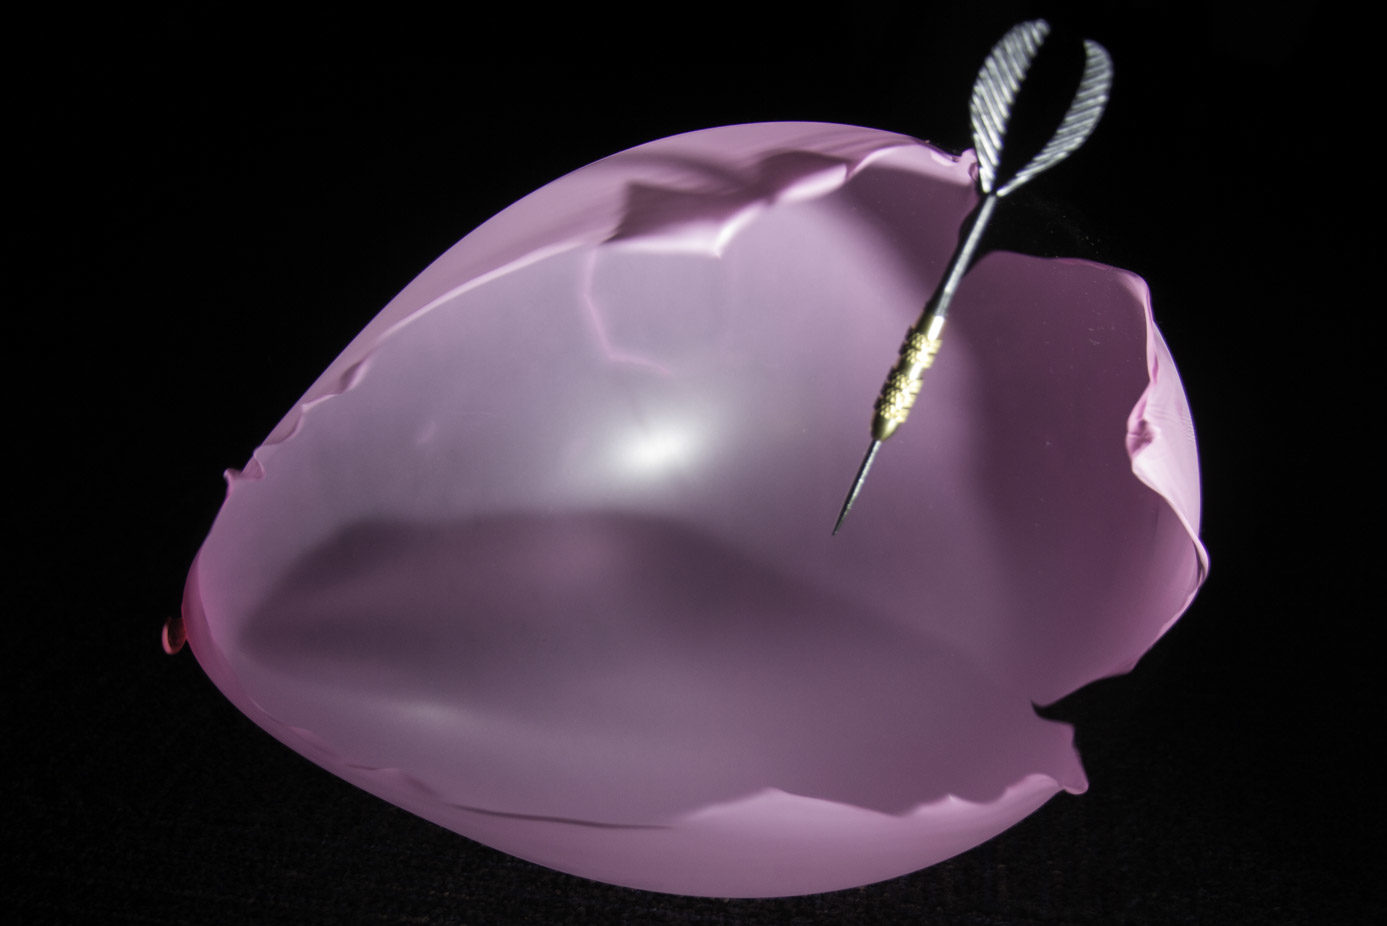
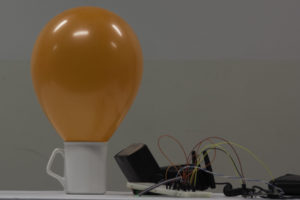
The idea behind high speed photography is pretty simple. An interesting event happens like a balloon bursting, the electronics senses that this event has happened, and sends a trigger to capture the photo in time to capture the action. There are some photographic practicalities that you also need to manage, like making sure your camera is ready to capture the image. Even the fastest DSLR cameras have a delay between pressing the shutter and the capture happening.
Practical challenges
The bursting of a balloon happens very quickly, before you get a chance to capture anything, it’s all over. There has been some research that suggests that the tears that propagate through a bursting balloon are doing so at greater than the speed of sound. You need to be able to capture an image of something moving at 570m/s, or 2,052km/h. This is seriously fast, most DSLR cameras can only shoot at 1/8000, this means that the exposure is all over in 125μs
If the tears are moving through a balloon inflated to 20cm at 570m/s, this will be all over in 35μs. A camera shooting at 1/8000 could capture some amount of the action, but it would be blurry. In this case, the question arises of how can we achieve a faster shutter speed than 1/8000. If that’s the limit of most consumer, and even professional camera, then how can we go faster?
Flash units, including the ones that are built in to your camera provide us our solution, they ordinarily light up for brief periods of time. The lower power the flash fires with, the shorter the duration of the light. There are a few tables that show these times, here is one below of the Canon 580EX, found here, this research was done by Andy Gock. The flash unit he tested is similar to the Canon 580EXii we used on the day of this club project.
| Canon 580EX | ||
| Flash Power | μs of light | Equivalent Shutter Speed |
| 1 | 4000.0 | 1/250 |
| 1/2 | 1088.0 | 1/919 |
| 1/4 | 484.0 | 1/2066 |
| 1/8 | 266.0 | 1/3759 |
| 1/16 | 166.0 | 1/6024 |
| 1/32 | 105.6 | 1/9470 |
| 1/64 | 71.6 | 1/13966 |
| 1/128 | 50.4 | 1/19841 |
As you can see, if we use a flash unit, we’re able to get some seriously fast exposure times, so unless we’re trying to capture bullets from sniper rifles, we’ll probably be ok for a while.
Reacting quickly enough
With our very high speed shutter speed equivalent of 1/19841, we need something that can react quickly enough to fire the flash before we’ve missed the high speed action. So what kind of device is quick enough for that? Well many types of solid state electronics devices are fast enough, and with the help of such devices as Arduino and ESP-8266, these can provide a sufficiently quick response time also.
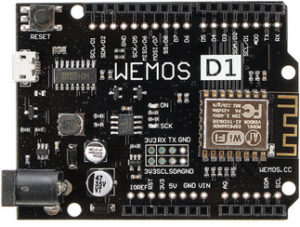
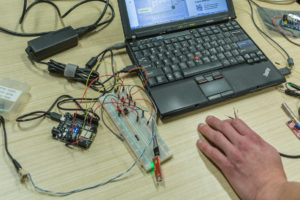
In our case we used an ESP-8266 which was fixed to a Wemos D1 R2 board, it cost about $6 from eBay/Aliexpress/Banggood type sites. This board looks a lot like Arduino Uno, and it has the same pinouts too. This board has a faster processor than the fastest Arduino, and it’s got WiFi which we can use later if we want. The pins all run at 3.3v, not the 5v that features on some Arduino models.
Getting a reliable trigger
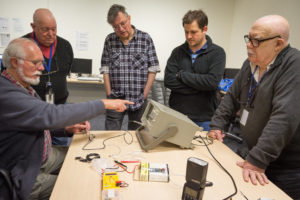
When a balloon bursts, it makes a loud sound, and this is what we need to measure. We started out testing some piezo guitar pickups to see how reliably they would provide a detectable voltage on the oscilloscope. We found that only if we physically knocked them would they provide a voltage that’s enough to be picked up by the Wemos board and passed to the ESP-8266. We needed to clear about 1V, but we weren’t getting a 10th of that according to the scope.
Luckily when a bunch of project enthusiasts get together, many of them bring their project boxes which are full of project bits. One of us had a microphone circuit which we could reliably create enough of a voltage spike so the Wemos board could interpret it as a balloon burst.
Gluing it together with the right programming
The other part of the high speed photography setup is the programming of the ESP-8266. This is where we tell the unit to fire the flash once it receives the sound signal from the microphone.
External flashes, especially those from days gone by can have a lot of volts in their PC Sync ports. If these volts get into your Wemos board, the smoke will surely get out.
One of the simplest ways you can reduce the risk to your Wemos board is to use an opto-isolator. This IC has two separate components, an LED and an optical transistor. Even though you can’t see the LED, the transistor can, and when it does, it becomes active. The Canon EX580ii had a 2.5V DC at its PC Sync port, so once we wired it correctly for the transistor terminals on the opto-isolator, sending a 3V pulse to the input, would fire the flash.
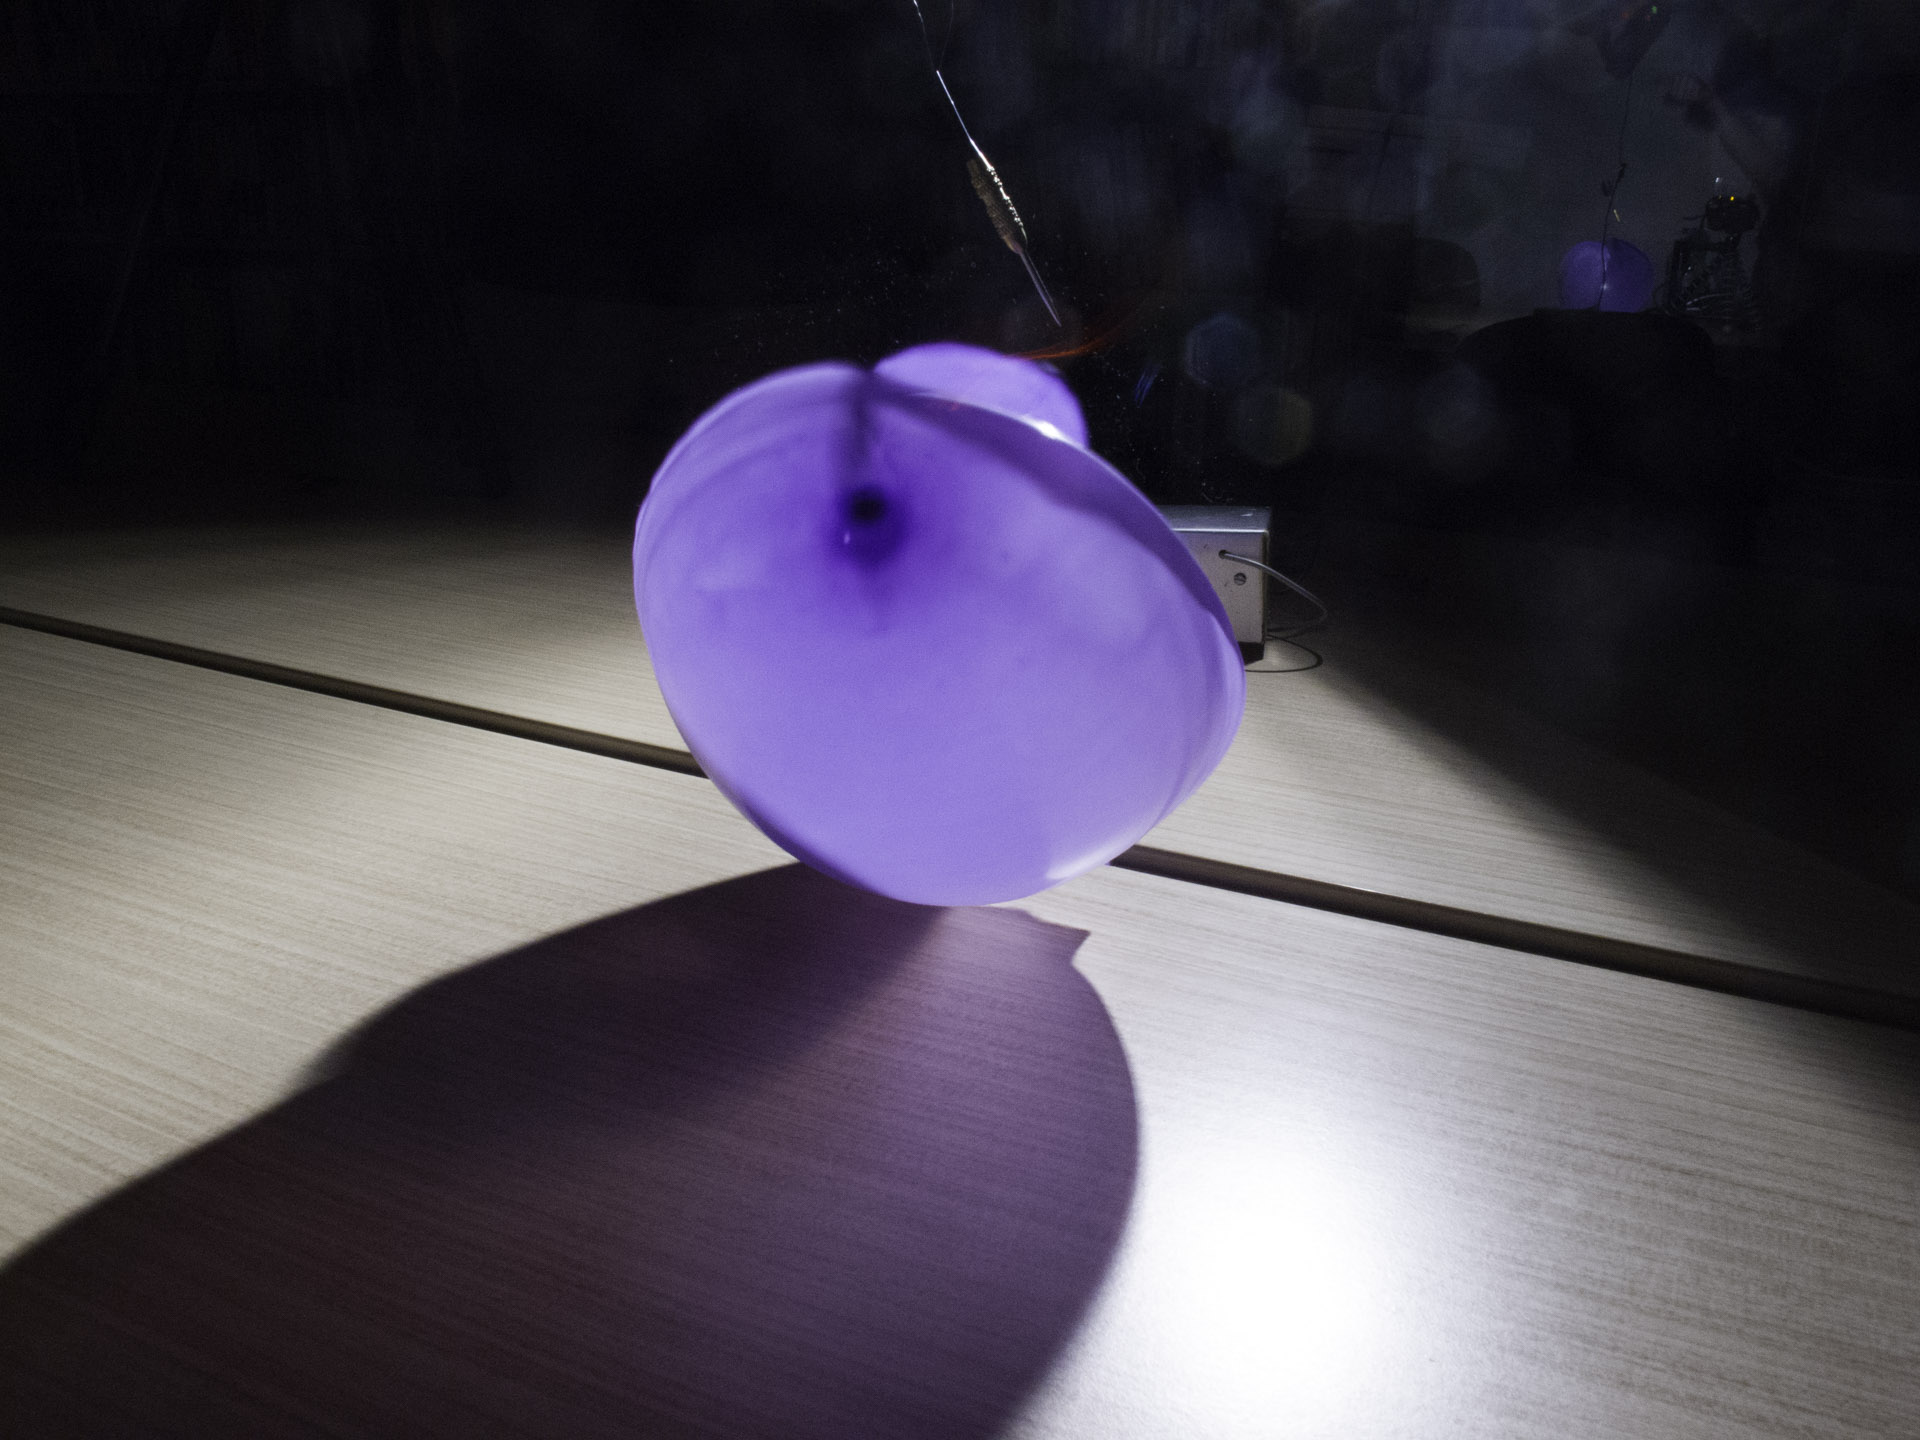
With our initial code configured on this device, we were capturing the balloons as they were about halfway through tearing. We will refine the design and configuration a bit, but it gave us a good starting point. We’ve been able to get some interesting photos with this initial build.
Testing
After we’d done the basic wiring setup, it was time to do some basic tests of each component. We were eventually able to create some pretty reliable results with our high speed setup.

After some increasingly realistic tests, we began to think it was time to get balloon popping. We did have to do a few extra tests to make sure that the microphone would reliably capture the sounds, but once we’d completed this, we were ready to capture some catastrophic balloon failures.
Capturing something common in a unique way.
The project was a good example of divide and conquer, we had two main groups which divided into teams, the electronics engineering and the software engineering. We also had a few keen photographers who would get their chance to apply their creative visions to how the capturing was done in order to help people capture the most exciting photos.
After a few hours of collaborative teamwork, everyone who attended for the day played an important part in us all achieving a successful outcome. It was great to see the way a group of very different skills, ages and perspectives were able to come together, in many cases for the first time to be able to make this group project a successful one.
Some interesting bokeh 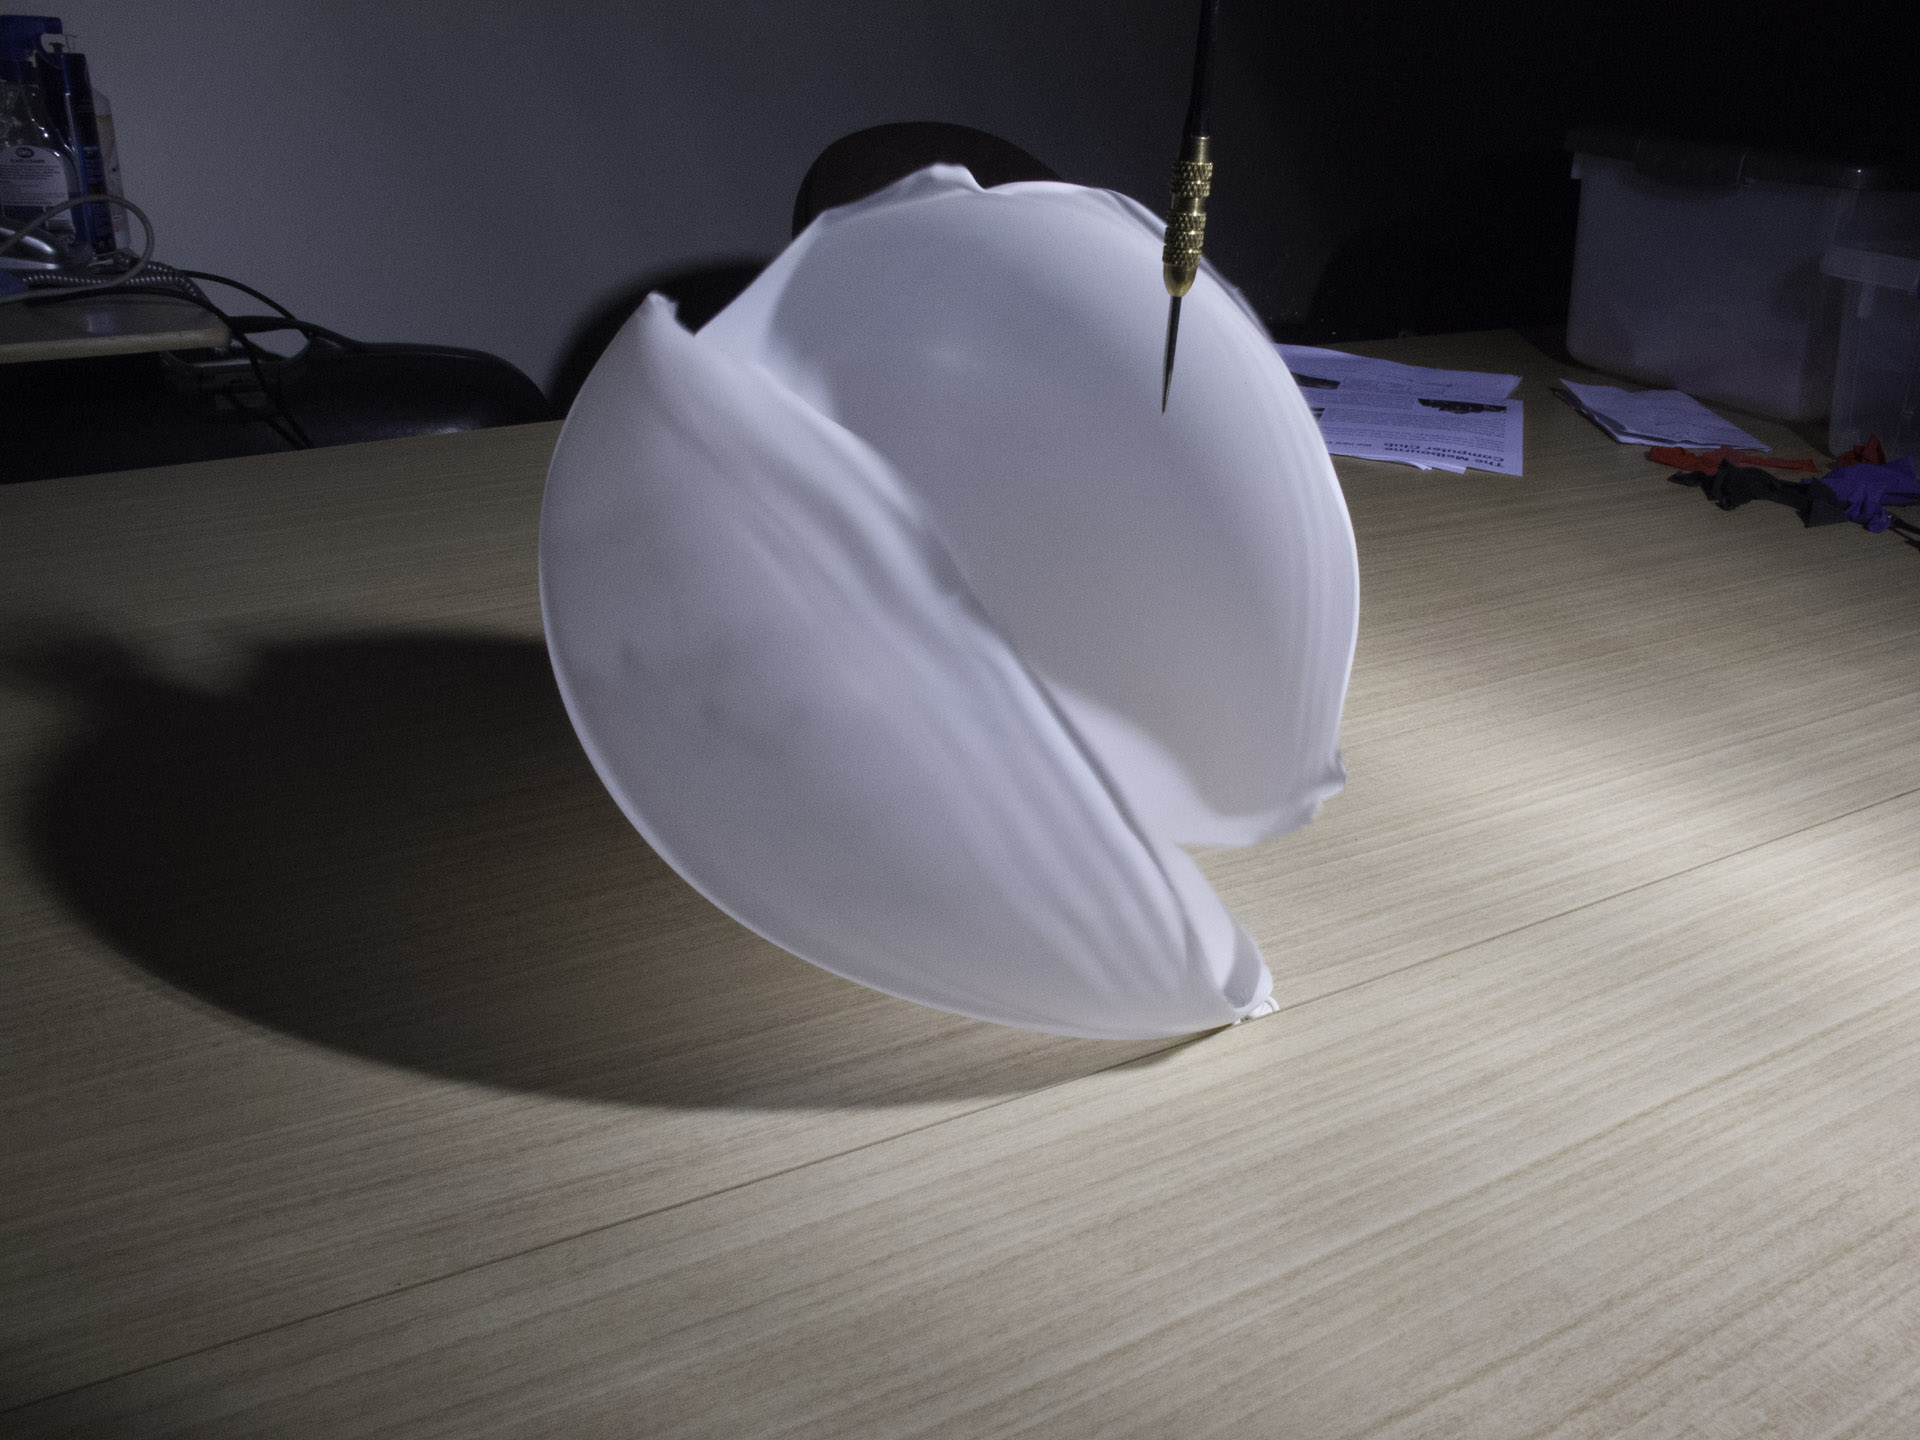
White shows up the damage clearly 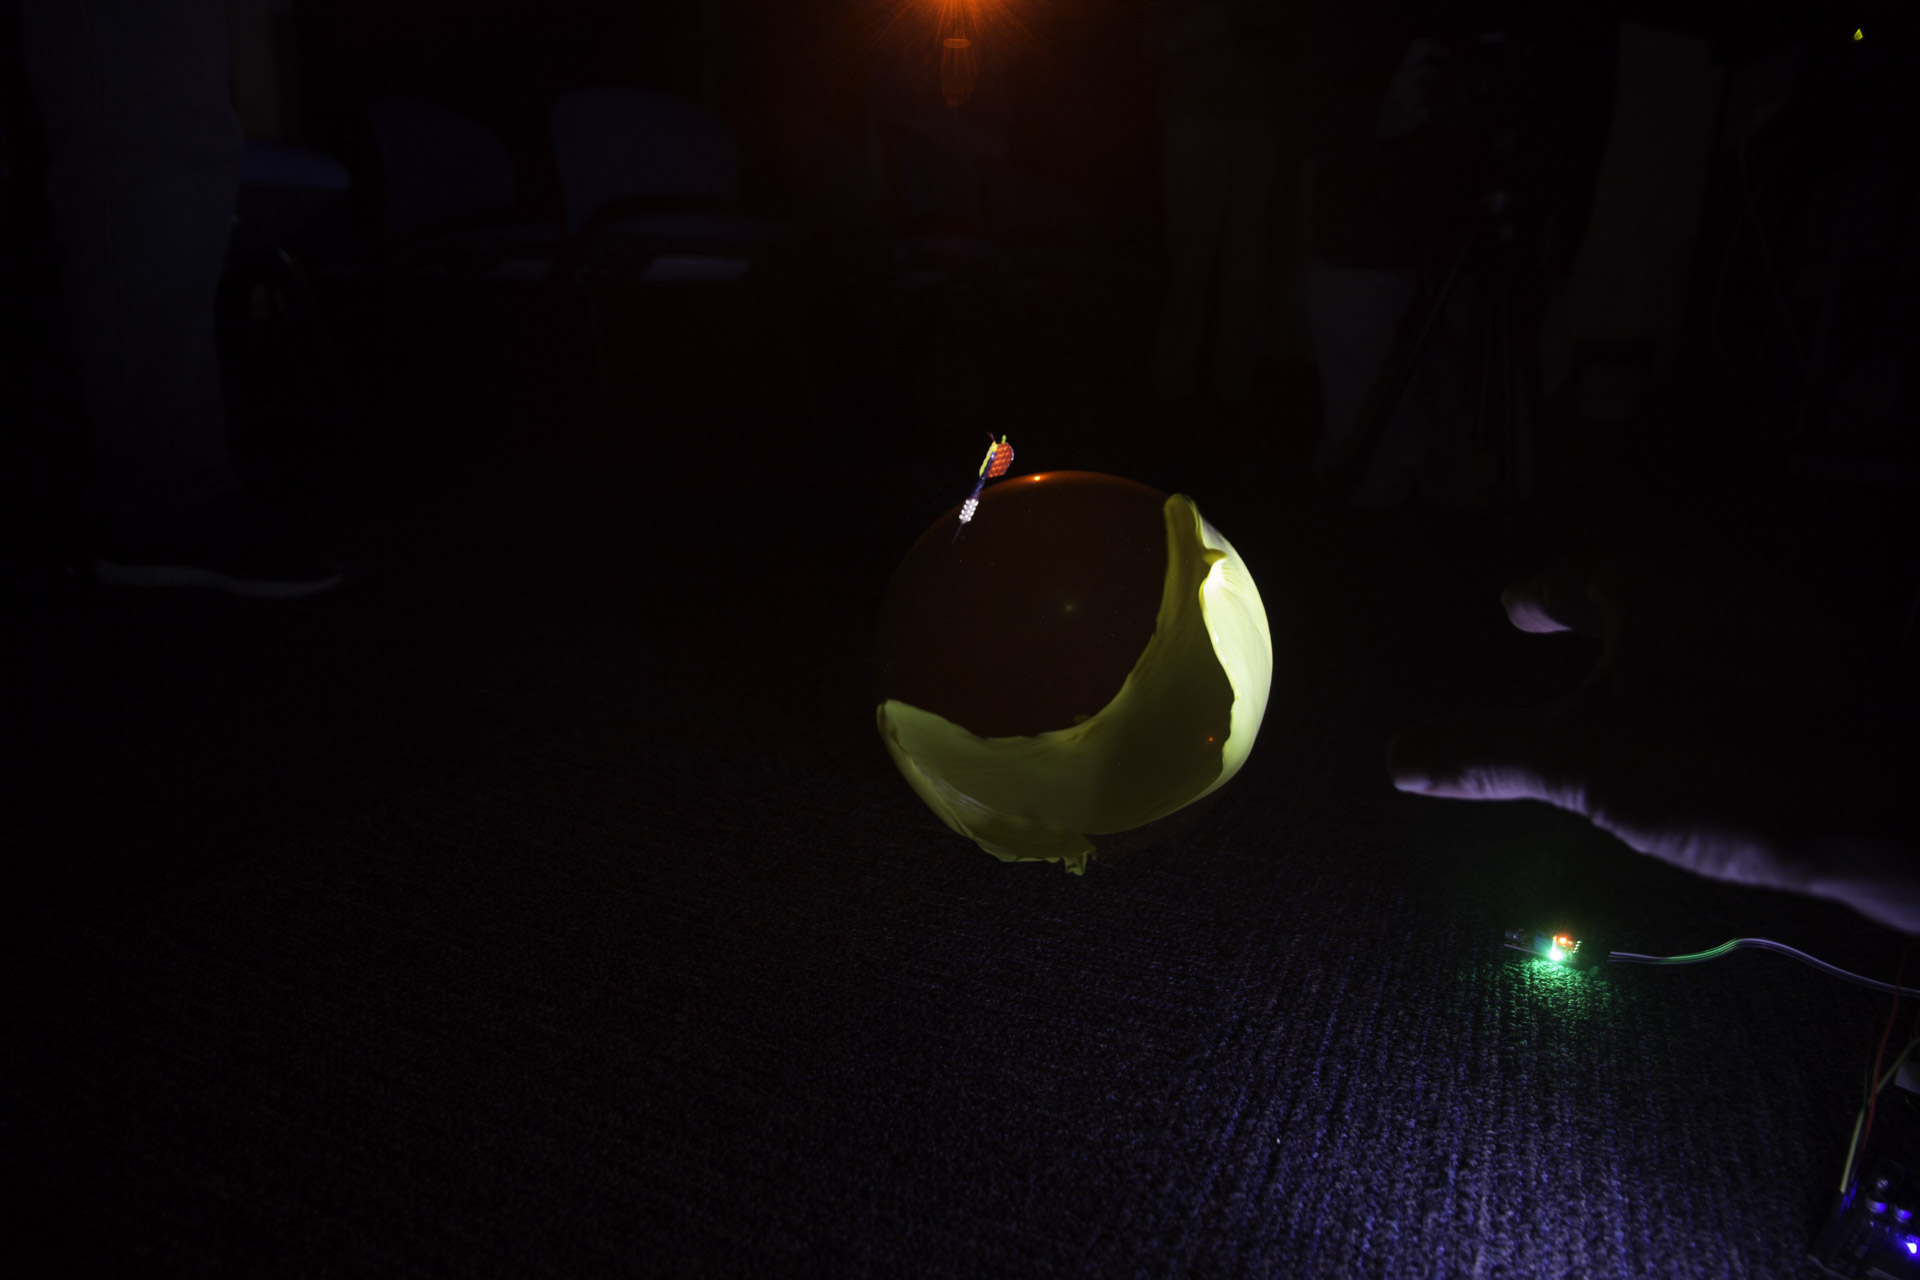
Some interesting artifacts 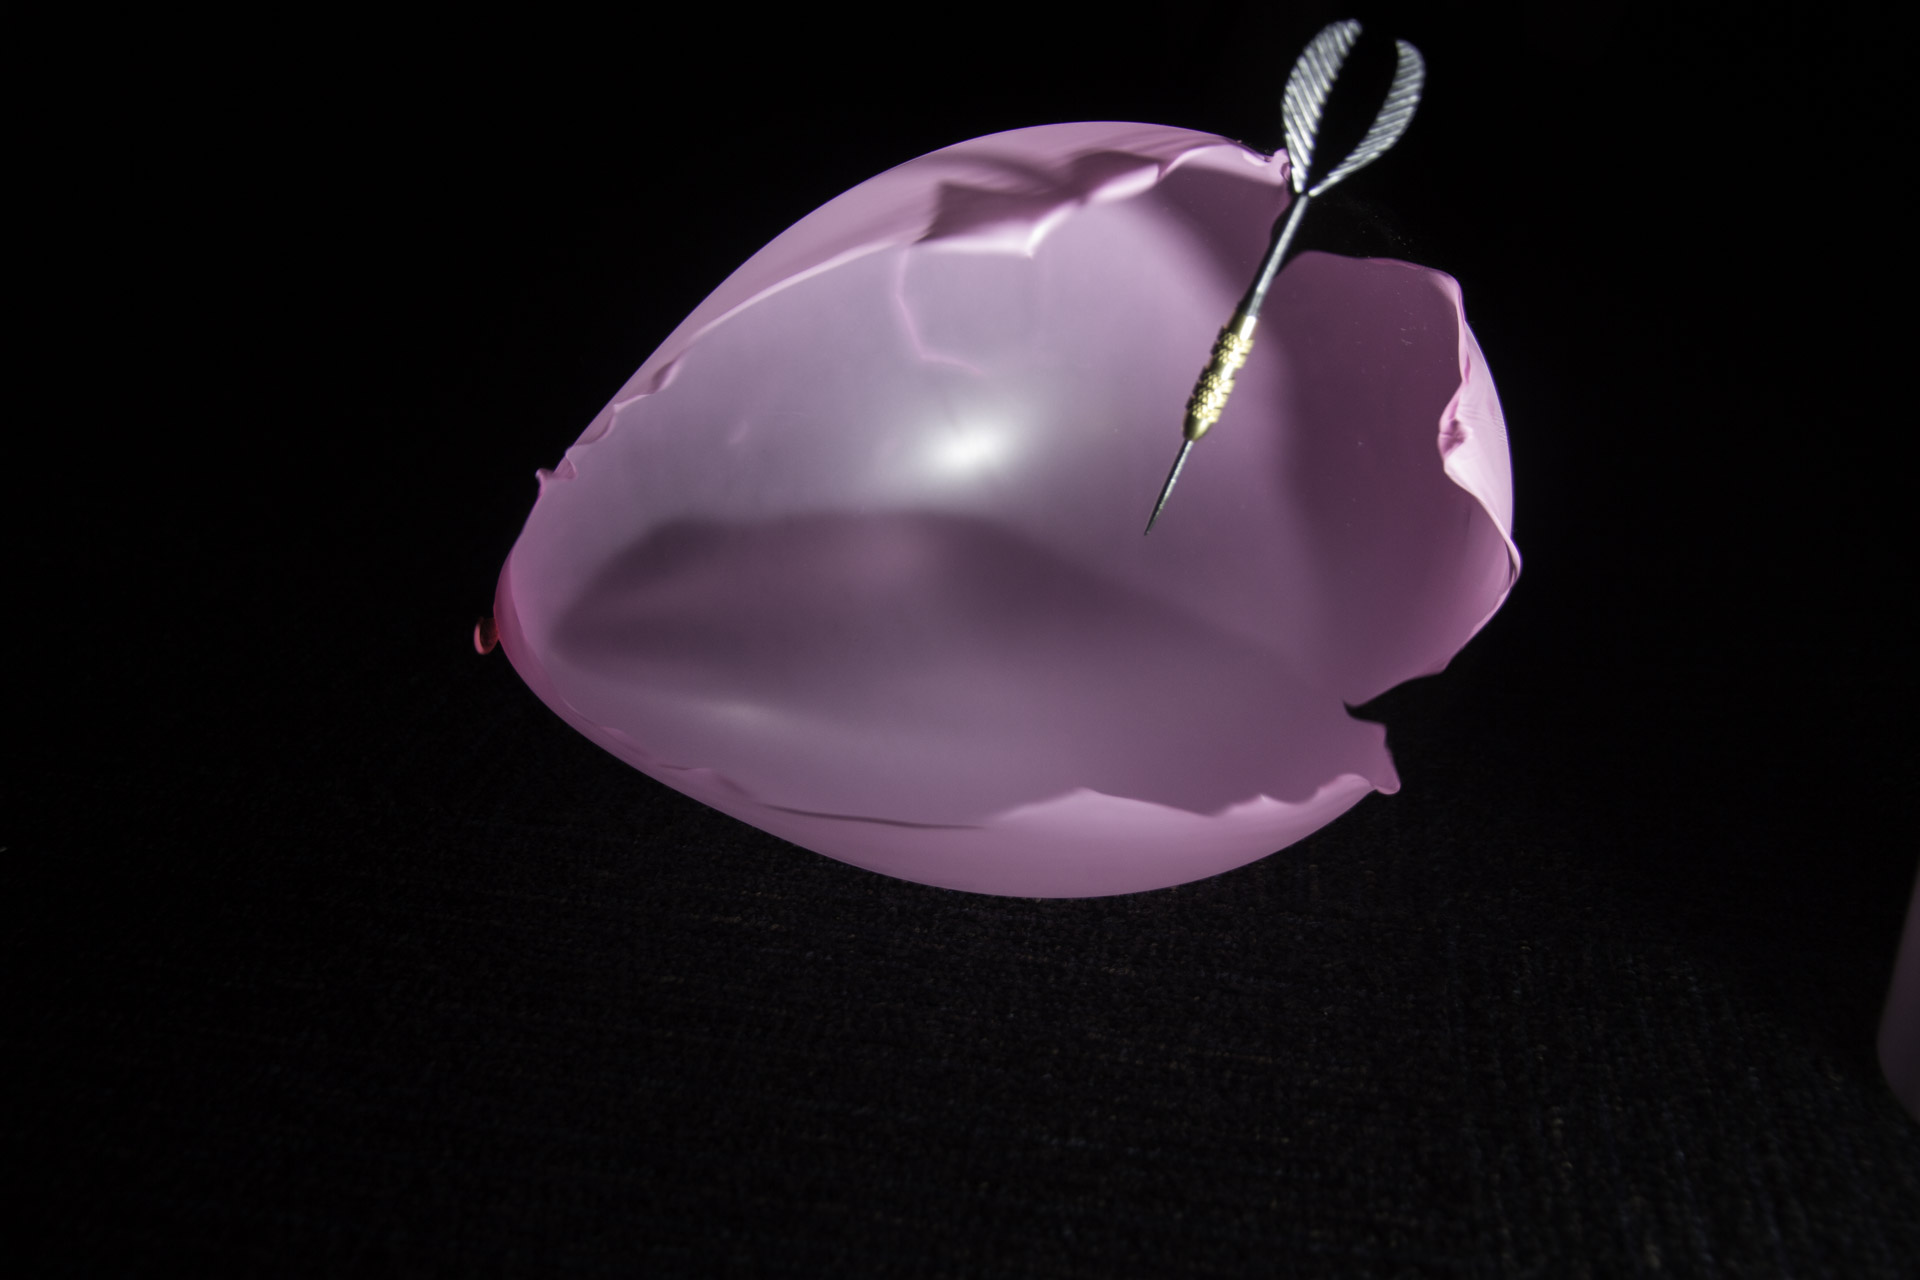
Clear destruction 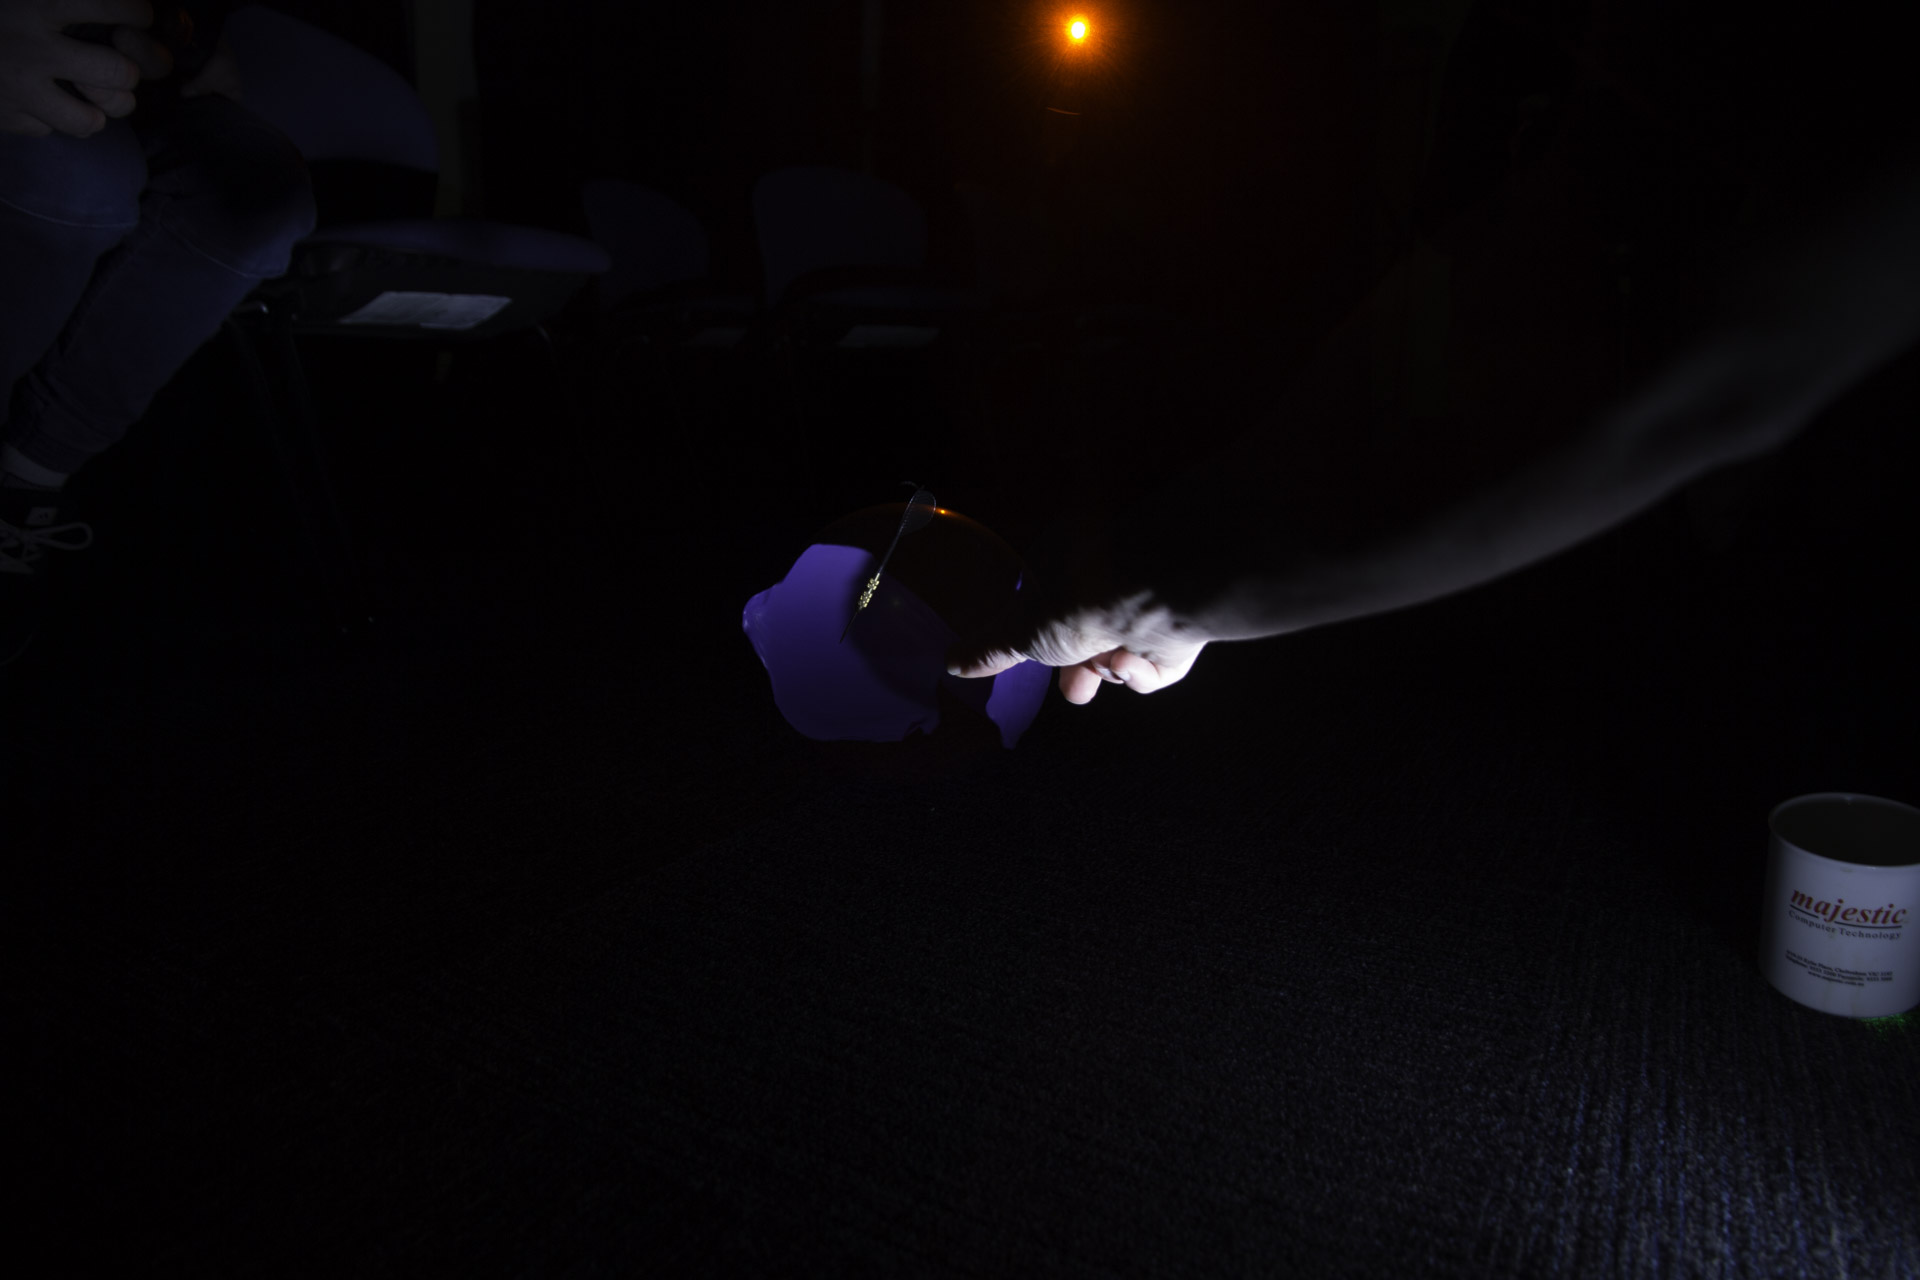
Trial and error 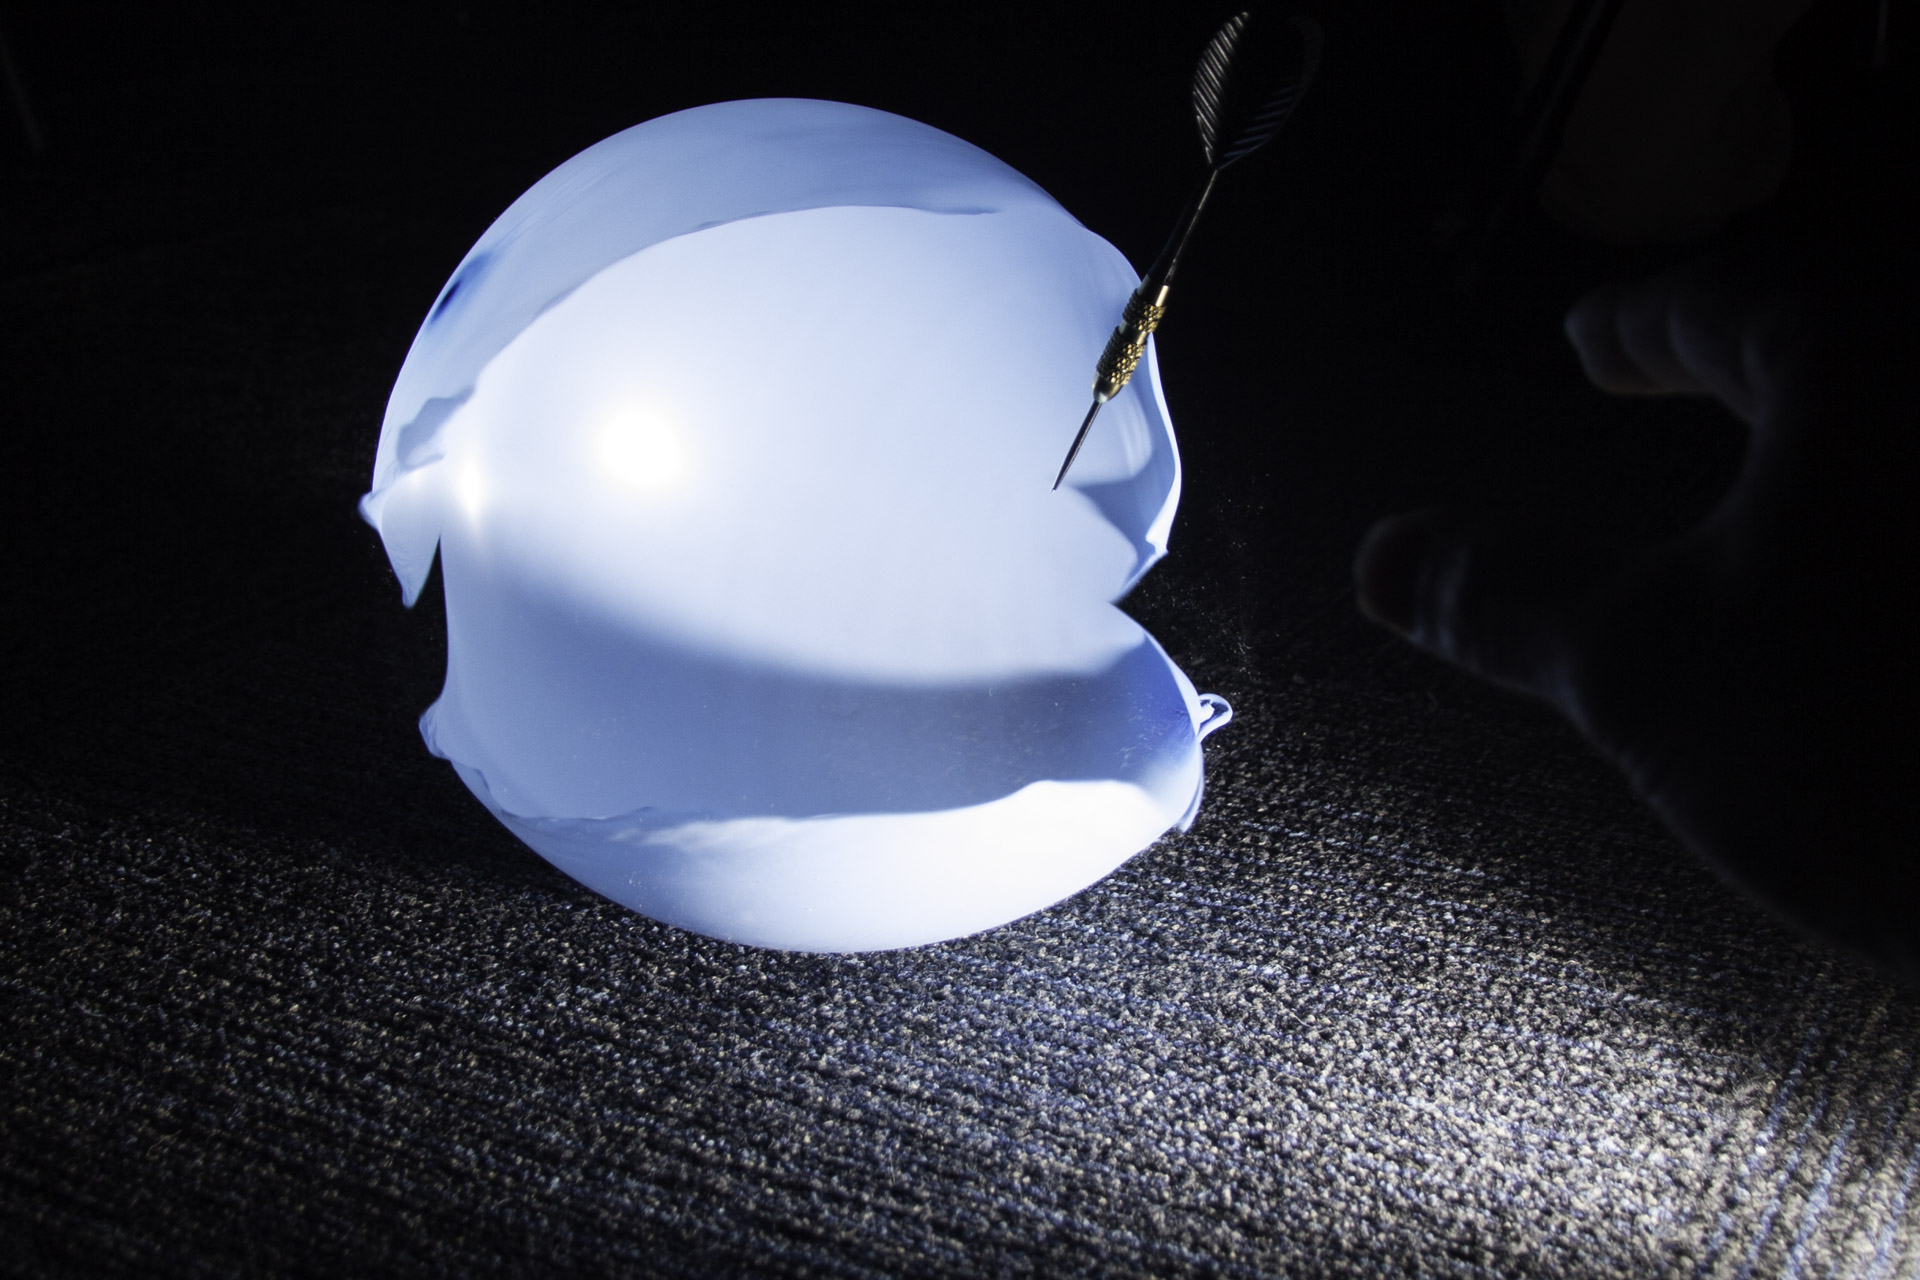
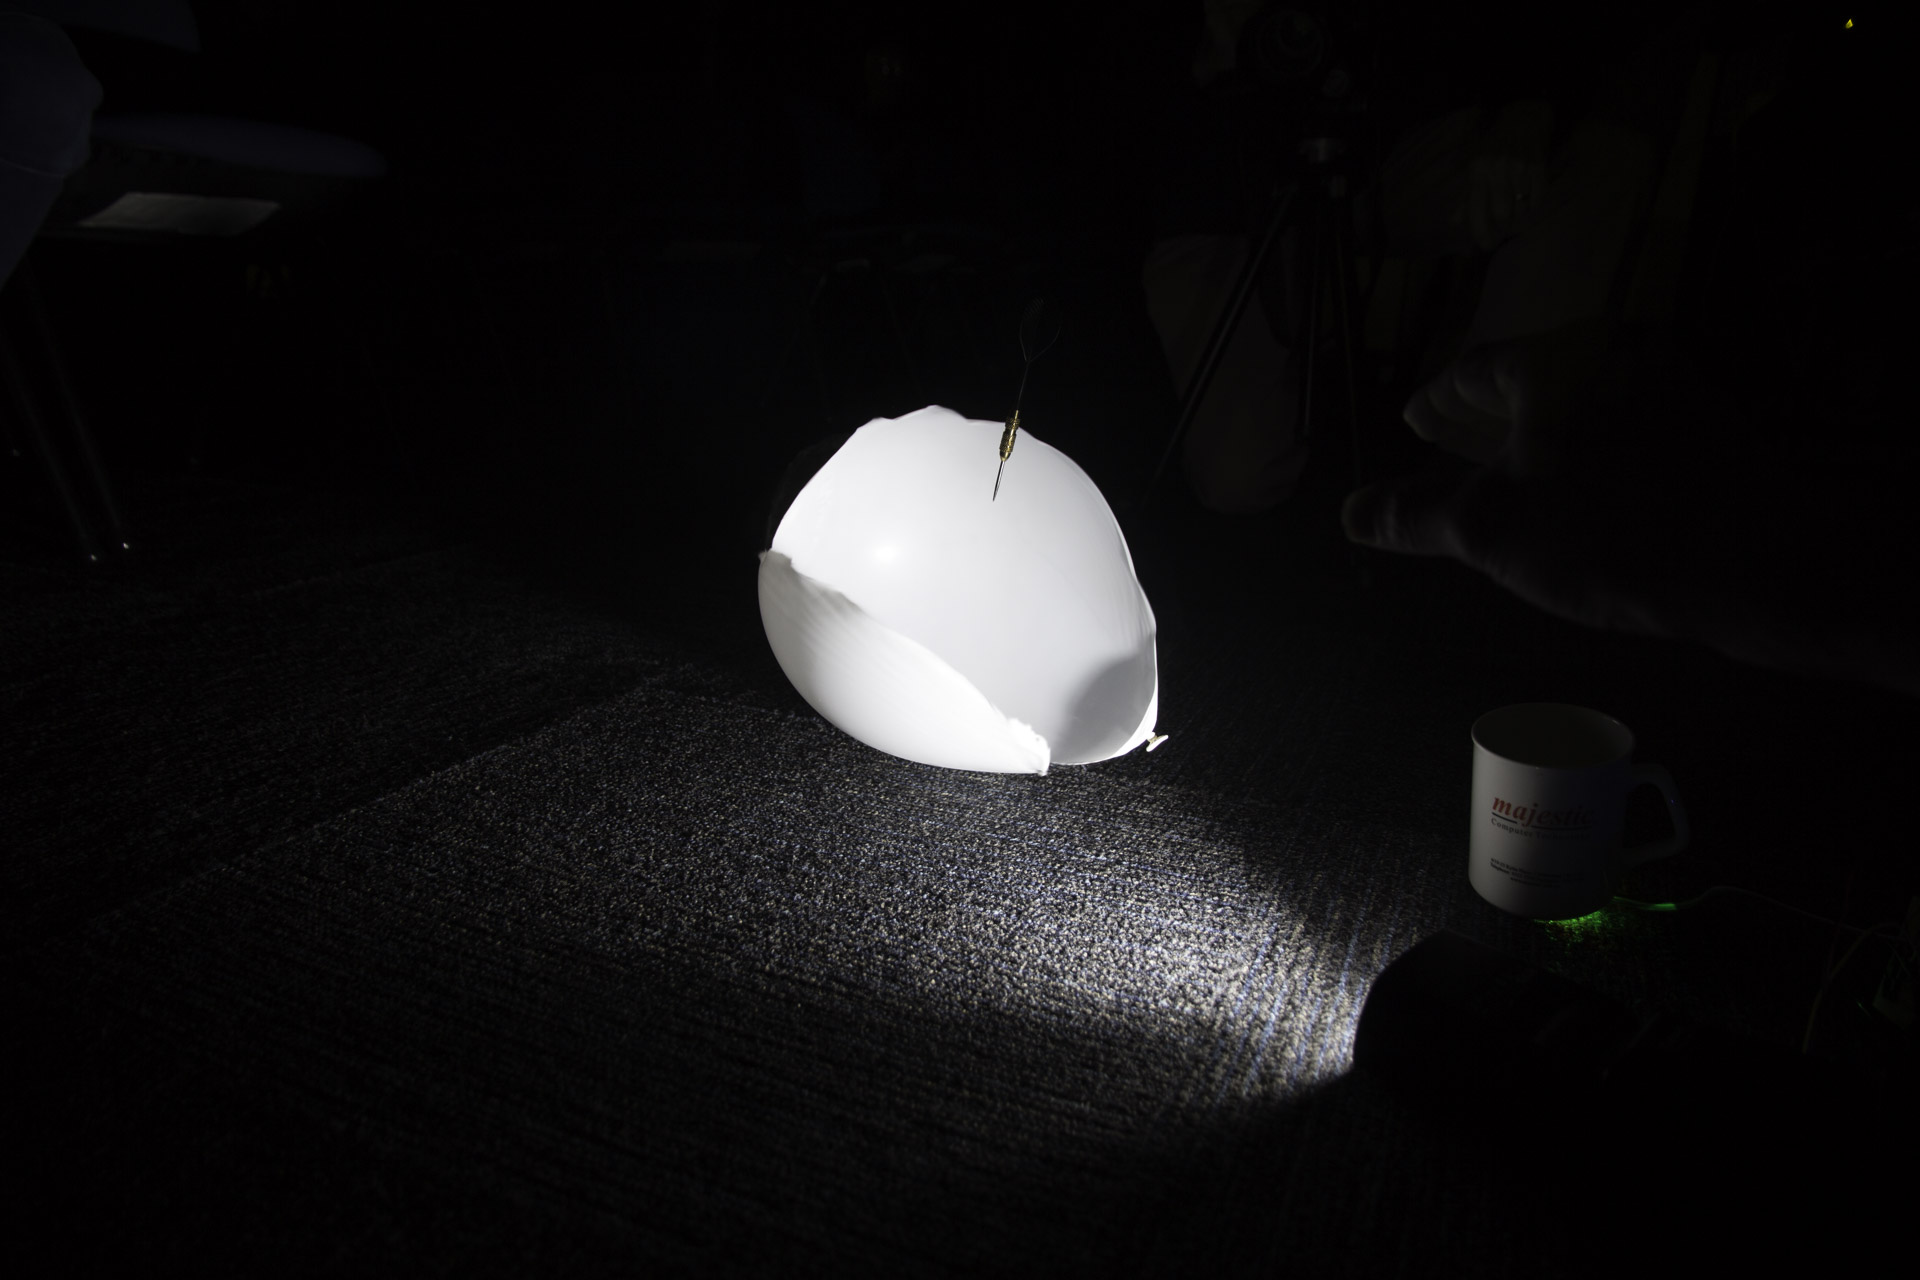
Flash low to the floor 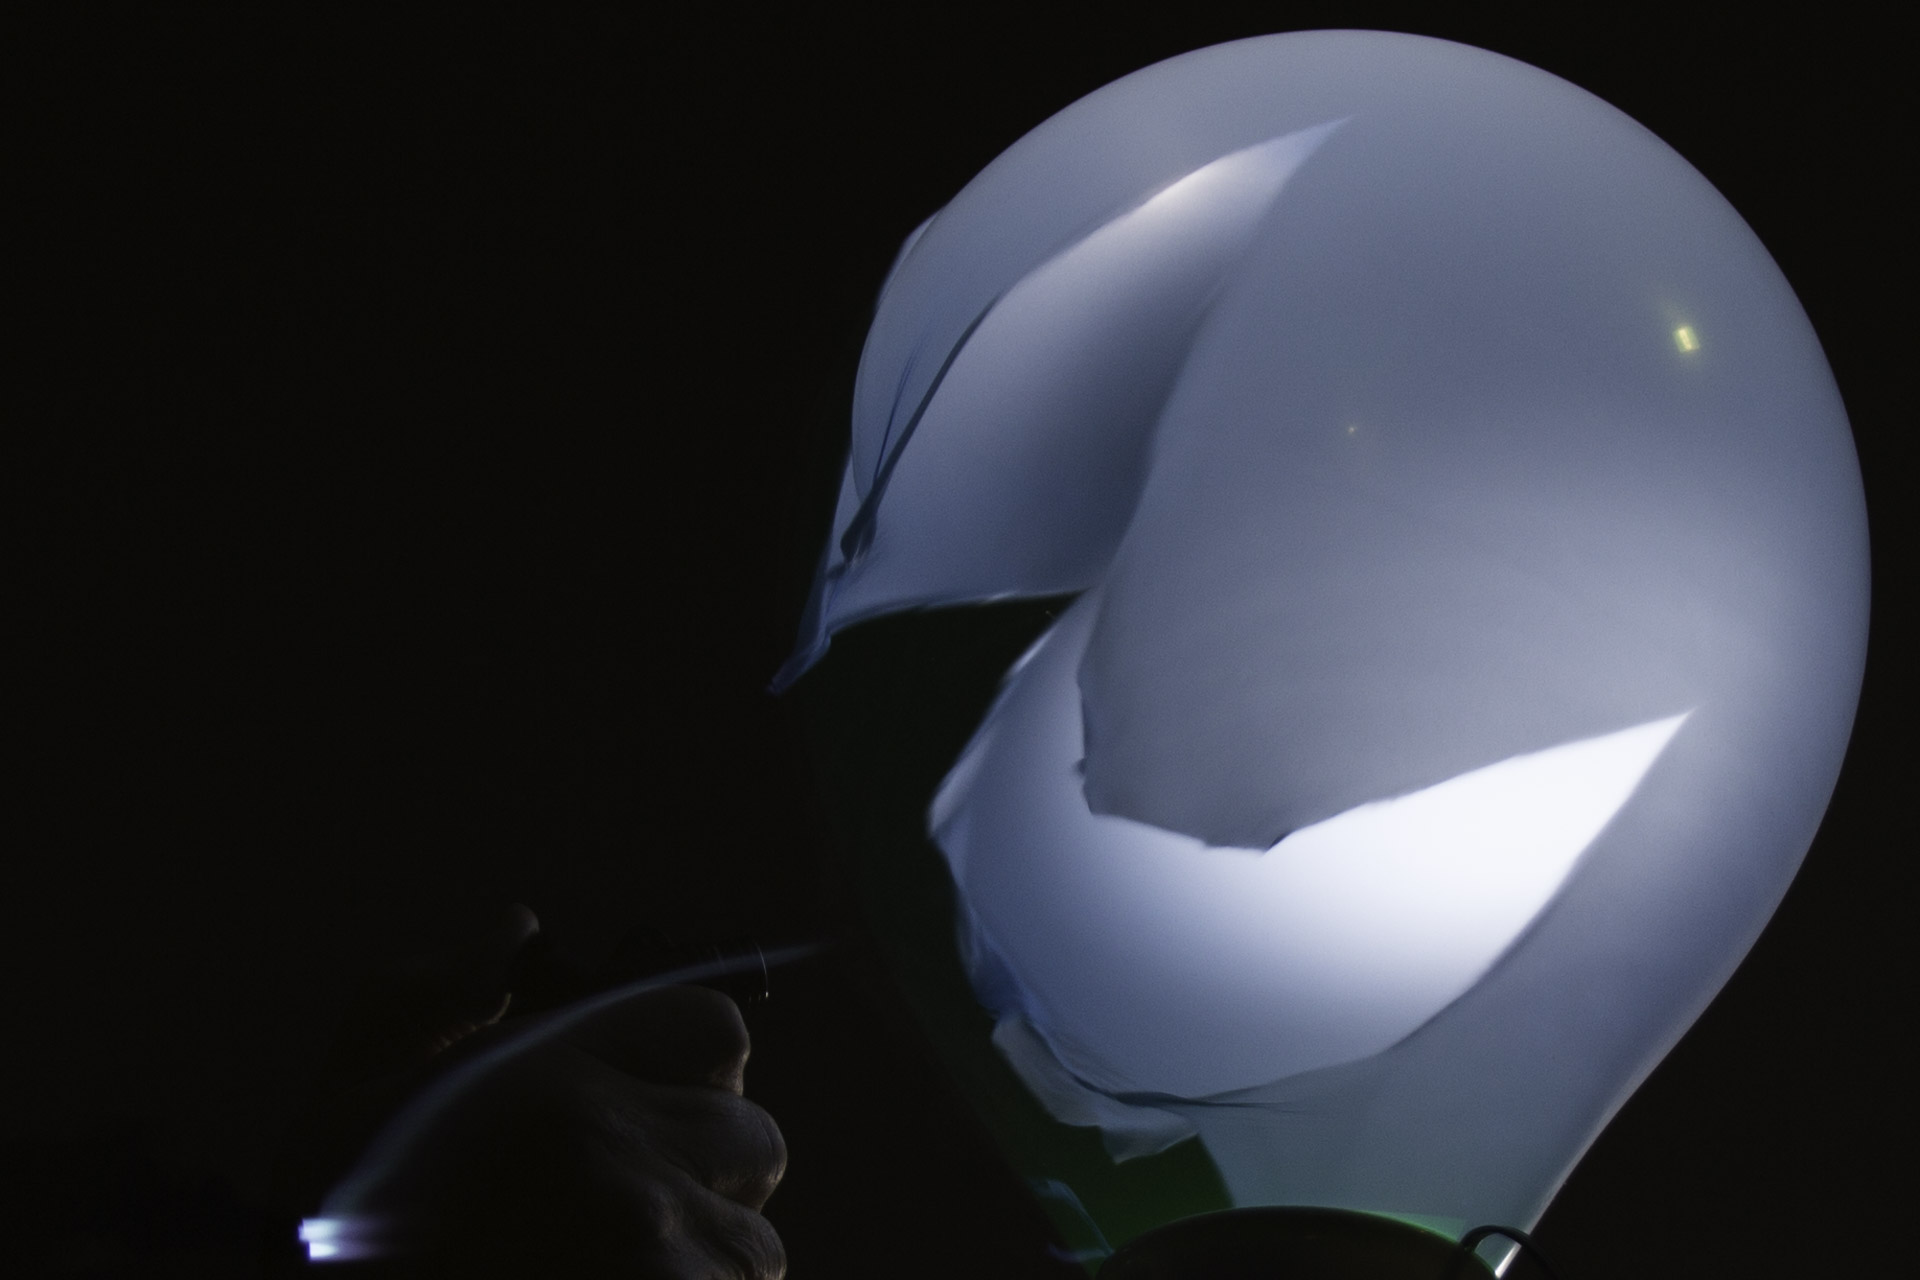
Mini blowtorch 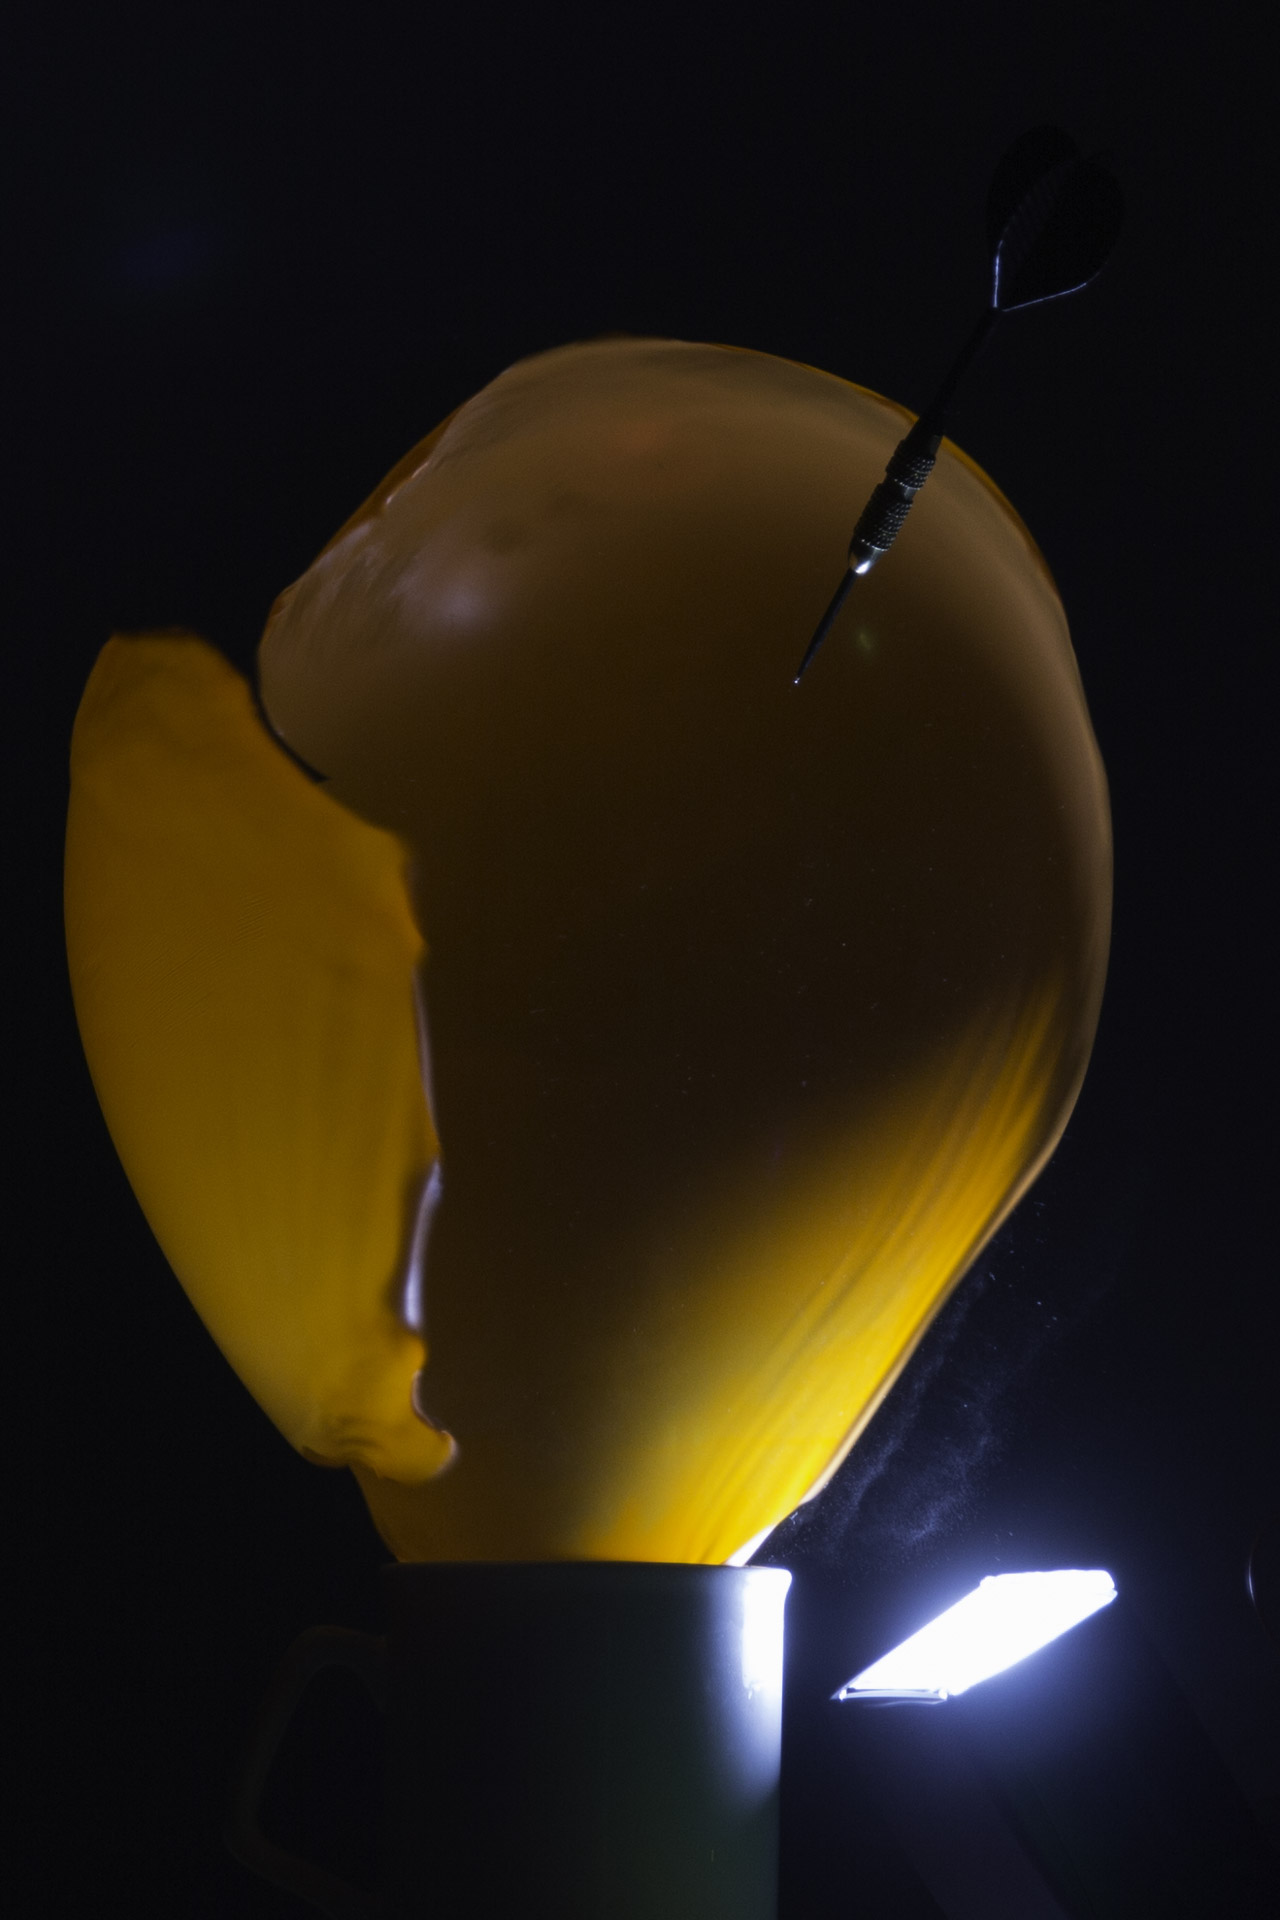
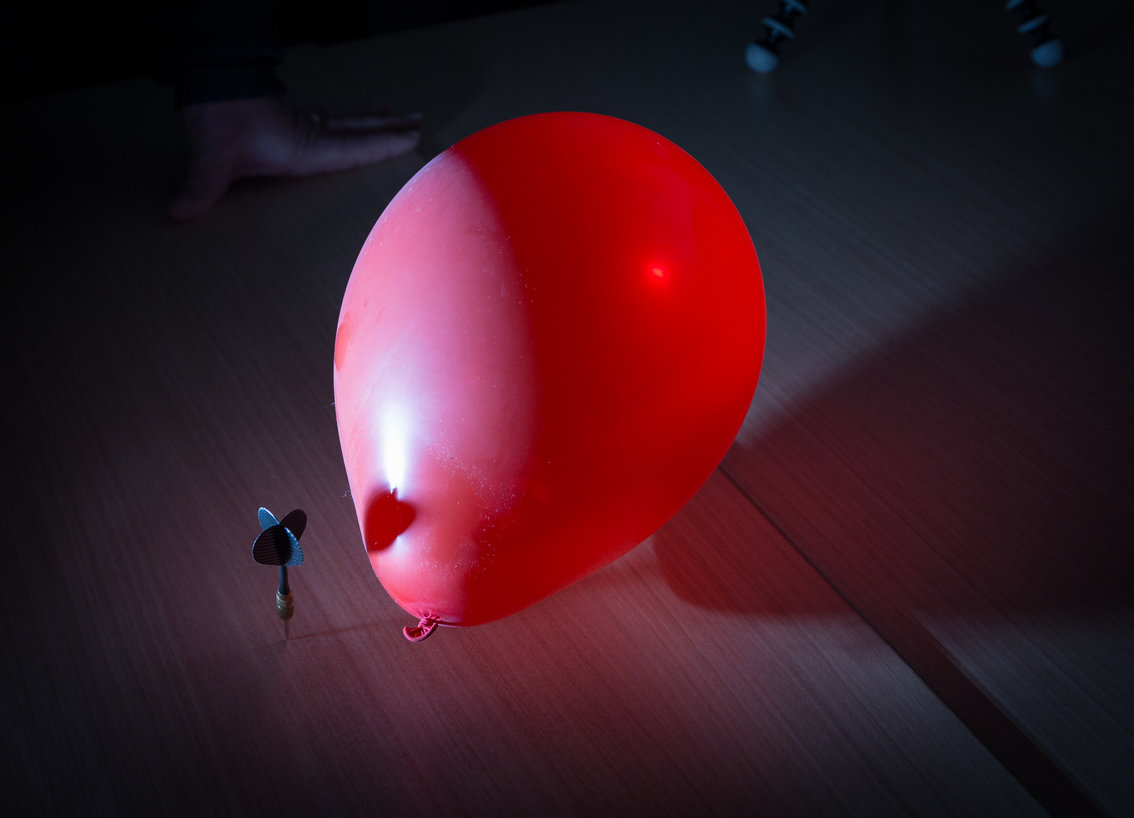
Dart and cup
Trial and error 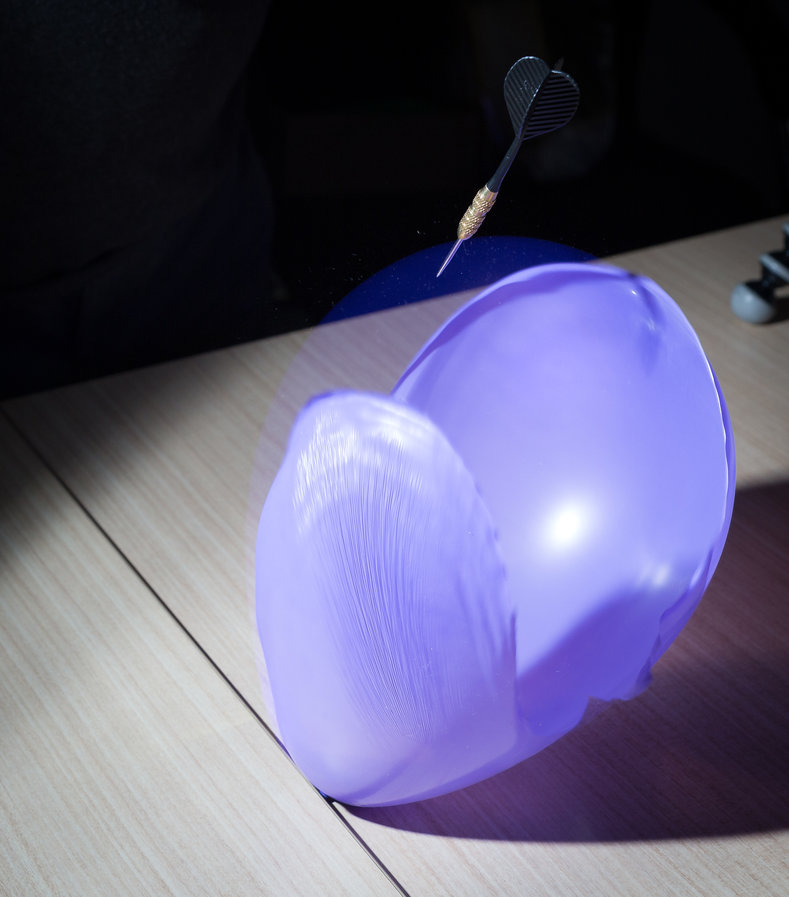
Purple haze 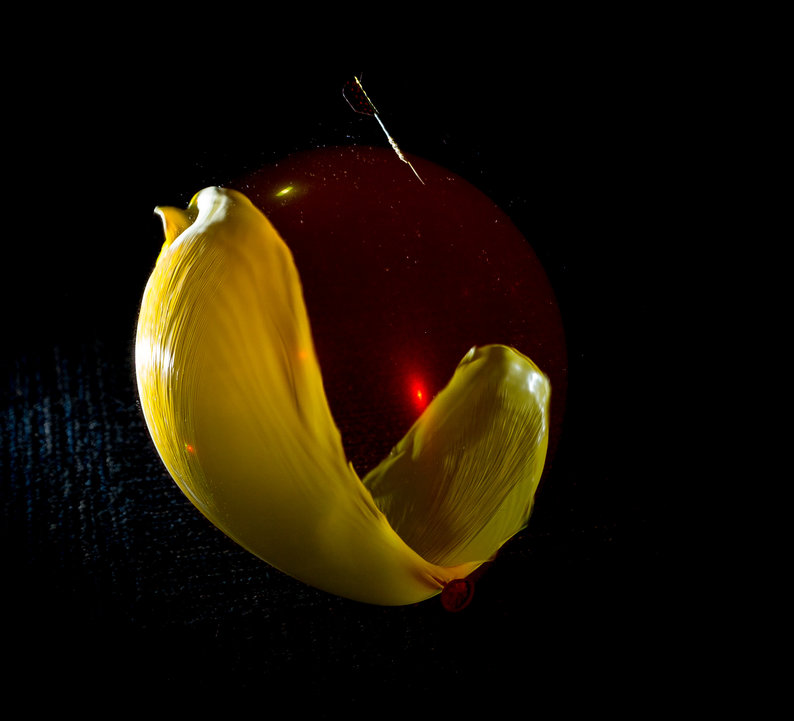
Red haze 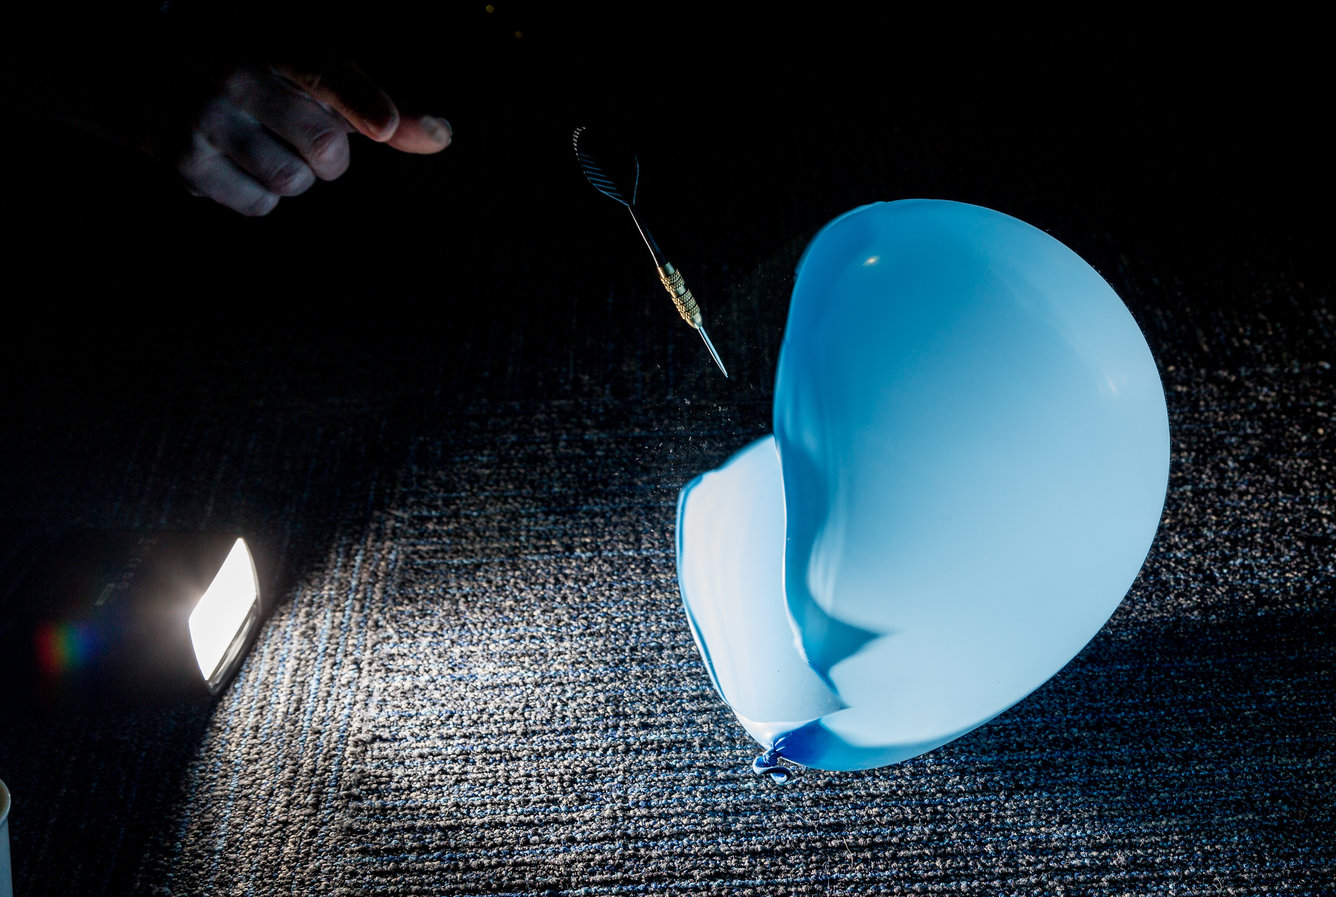
Side destruction 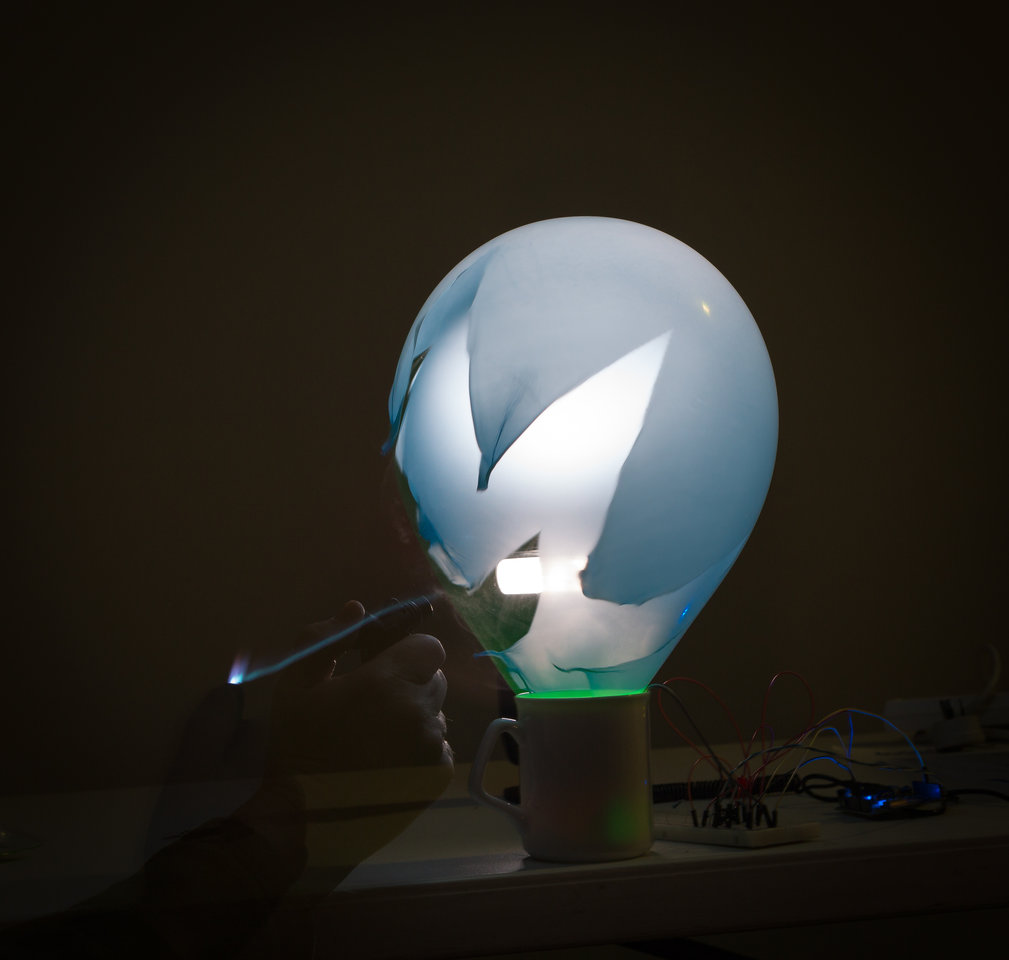
Mini blowtorch 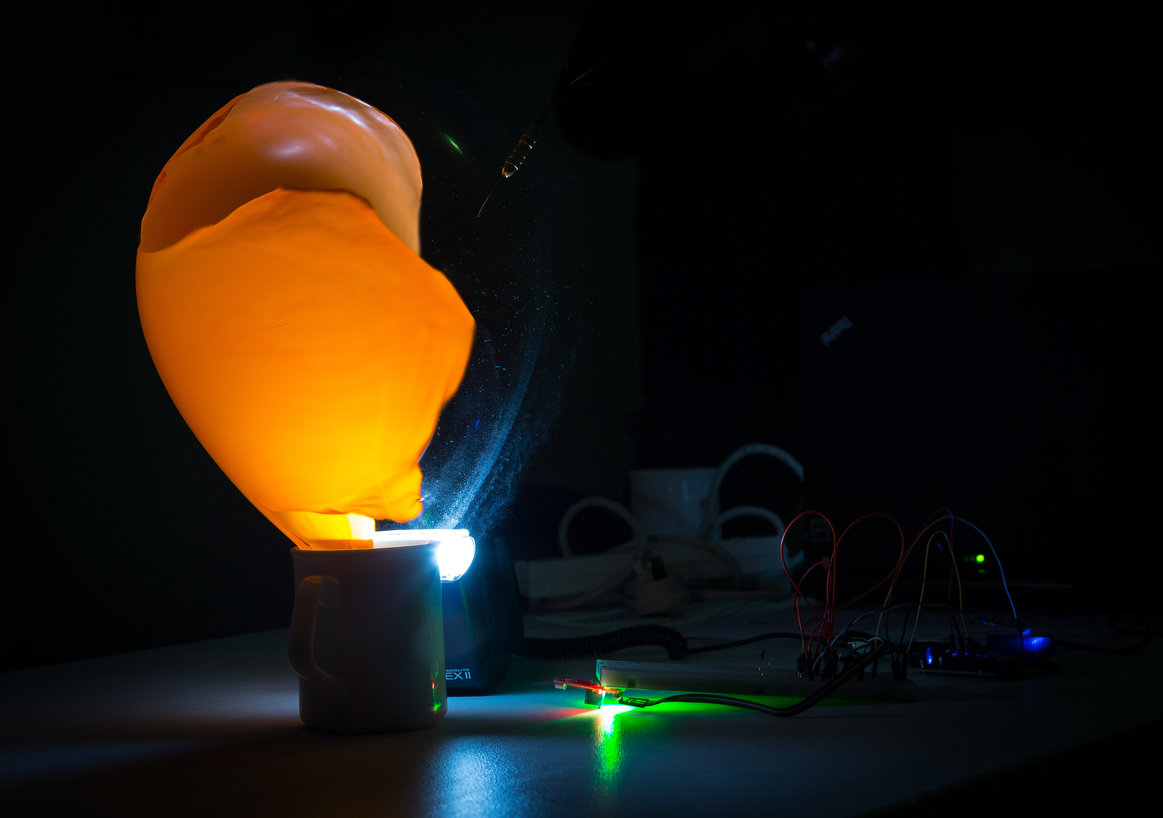
Dart and cup – sideways
You want in?
The Melbourne Computer Club is a community of enthusiasts who enjoy some aspect of technology. Photography is just one of the many areas our community is passionate about. While our main club premises are located in the south east suburbs of Melbourne, we have many members who regularly catch up all around Melbourne and greater Melbourne.
If you’d like to find out more about our community, and how you can become a part of it.